Choose Inside Mount Or Outside Mount Roller Shades
Now that you have the necessary tools, you need to decide whether the roller shades will be mounted inside or outside of your window. Each type of roller shade has their own unique benefits, but the option you choose will affect the fit and the installation process so make sure to take this into account when you choose your roller shades.
Helpful Hints Before You Begin Installing Roller Shades:
- Carefully unpack your shades and all mounting hardware.
- Familiarize yourself with the contents of the box and ensure all installation hardware is included. You may have different bracket types if your roller shades come with a cassette valance, so always follow your specific product installation instructions.
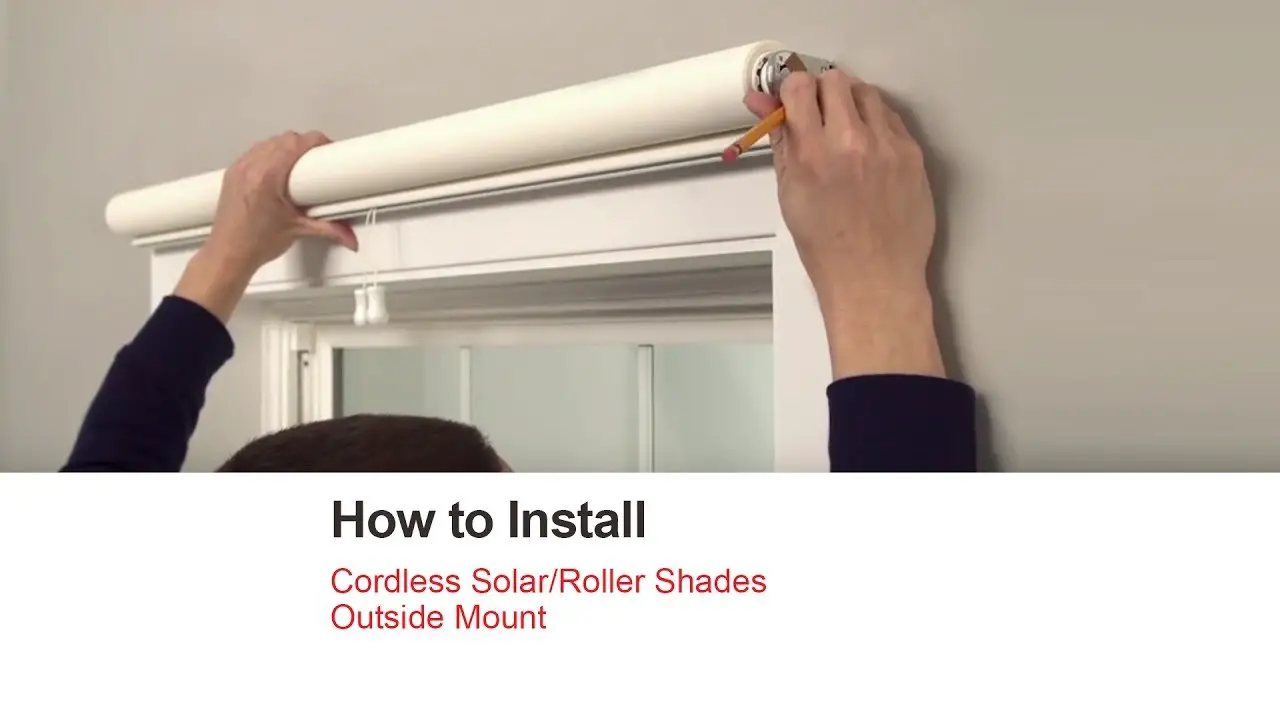
How To Install Outside Mount Roller Shades
If you measured for outside mount roller shades, follow these simple installation steps:
Read Also: How To Set Up A Sole Proprietorship
Installation Instructions For Solar Shades With Fascia
Clutch Roller Shade with Fascia
1. MOUNT THE BRACKETS.
The open end of each bracket faces downward, as shown in the drawing below.
NOTE: If you have an inside mount and must use ?inside mount holes,? you will have to drill your own holes in the side of the bracket. Use at least two screws per bracket, and make sure that the screw heads clear the clutch.
2. INSTALL THE SHADE.
Push the clutch straight onto the blade of its bracket. The bottom of the clutch should always point straight down, as shown above. Lower the lug of the end plug onto the ?V? of its bracket. The roller should fit in the brackets securely, with just a little play.
ATTACH FASCIA PANEL Attach the fascia by first hooking the top lip of the fascia panel onto the bracket as shown. Swing the bottom the fascia panel towards the bracket and gently press at the bottom to the panel until the lip on the fascia engages and snaps locked to the bracket.
3. ATTACH STOPS TO METAL OR PLASTIC BEAD CHAIN. For plastic bead chain:
use connector for top stop and attach another connector for lower stop. For metal bead chain: attach a metal stop ball at least 5/16? in diameter so that it touches the clutch when the shade is rolled all the way up. For both kinds of bead chain, lower the shade to sill or floor height, and snap the appropriate metal stop or plastic connector on the opposite side from the stop, so that the shade cannot be lowered beyond that point.
4. INSTALL THE TENSION DEVICE
a. Lower the shade.
Inside & Outside Mount Blinds

When it comes to choosing the right blinds for your homes, apart from the need you want it to serve there are several other considerations like color, design, texture, lift options, to add or not to add a valance or a cornice and also whether you want these blinds to be inside or outside mount. This is an important consideration because the mount type will heavily influence your measurements and fit of the blinds. Inside mount blinds are mounted on the inside of the window frame. They look neat, sleek and smart. Outside mount blinds are mounted outside the window frame covering the whole window and few inches of the wall around the window opening.
Recommended Reading: How Much Will Solar Increase The Value Of My Home
Every Room Deserves Great Blinds
Roller shades elevate the style in any room. Made from high-quality, durable materials, the selection of roller shades at Factory Direct Blinds can give you the privacy you need and help manage your homes comfort level. Clear instructions make installing blinds easy, even if youve never done it before. Explore our full range of blinds online or contact Factory Direct Blinds at 1-800-355-2546 to speak with our customer support staff for more information on blind installation or maintenance.
Image Credits
Correct An Uneven Roll
Its frustrating when your cordless blinds wont roll up evenly. A common reason for a shade that does not roll straight is unevenly mounted brackets. If you have double-checked to make sure your brackets are mounted level and your shade still rolls unevenly, placing a simple shim can solve the problem.
Lower your blind completely. If your shade veers to the right when rolling or unrolling, place a small piece of tape as close to the left edge as possible. This will act as a shim to help the shade roll straight. Place the tape on the opposite side for a shade that veers to the left when rolling. Test the roller to see if the tape has fixed the issue. If the shade still rolls unevenly, place another piece of tape on top of the first piece of tape. Keep adding layers of tape until the shade rolls evenly.
Don’t Miss: How To Become A Sole Proprietor In Illinois
Bracket & Shade Installation
Brackets are not universal and have to be mounted correctly. Screw the brackets in place for inside, wall, or ceiling mount. For regular roll shades , lift the shade up to the brackets with the fabric hanging closest to the window. For reverse roller shades , lift the shade up to the brackets with the fabric hanging closest into the room.
Set the spring end into the open slot in the bracket as shown in Figure A.
Next secure the idler pin end into the bracket as shown in Figure B.
Please note: Although the spring mechanisms are pre-tensioned at the factory, occasionally, they will uncoil during shipping. If this occurs, the shade will not raise or lower properly. A simple adjustment of the spring can correct this problem.
To Tighten the Spring Tension
To Loosen the Spring Tension
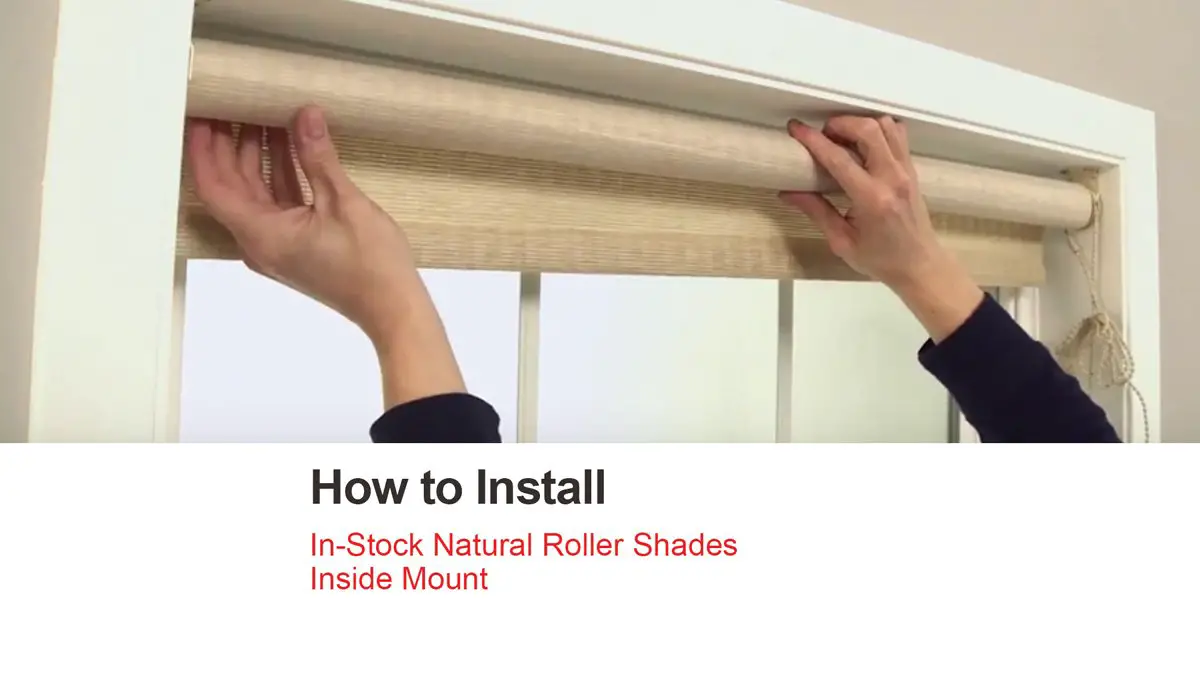
How To Install Inside Mount Roller Shades
If you measured for inside mount roller shades, follow these simple installation steps:
You May Like: How Much Is A 4kw Solar System
Installing Horizontal Sheer Shades
Sheer shades are ideal for rooms where you want light to come in throughout the day. Make sure the tension mount is installed securely to ensure ease of operation. A hammer can be used to tap screws in lightly to create a pilot divot if you don’t have a drill.
Inside Mount Installation:
- Measure in from each top corner of the window frame. The distance will vary across manufacturers, so consult your owners manual for the exact specifications.
- Align the brackets along your markings and drill pilot holes where the screws should go.
- Drill the screws into place to secure the brackets.
- Raise the shade into the frame and position the headrail back into the brackets. Rotate down until it snaps into place.
- Remove the protective covering from the shade.
- If your shade has a cord, install the safety bracket or tension pulley onto the window frame to keep the cord taut.
- Finish by lowering and testing your new shade.
Outside Mount Installation:
- Position the shade on the outside of the frame where you want it mounted.
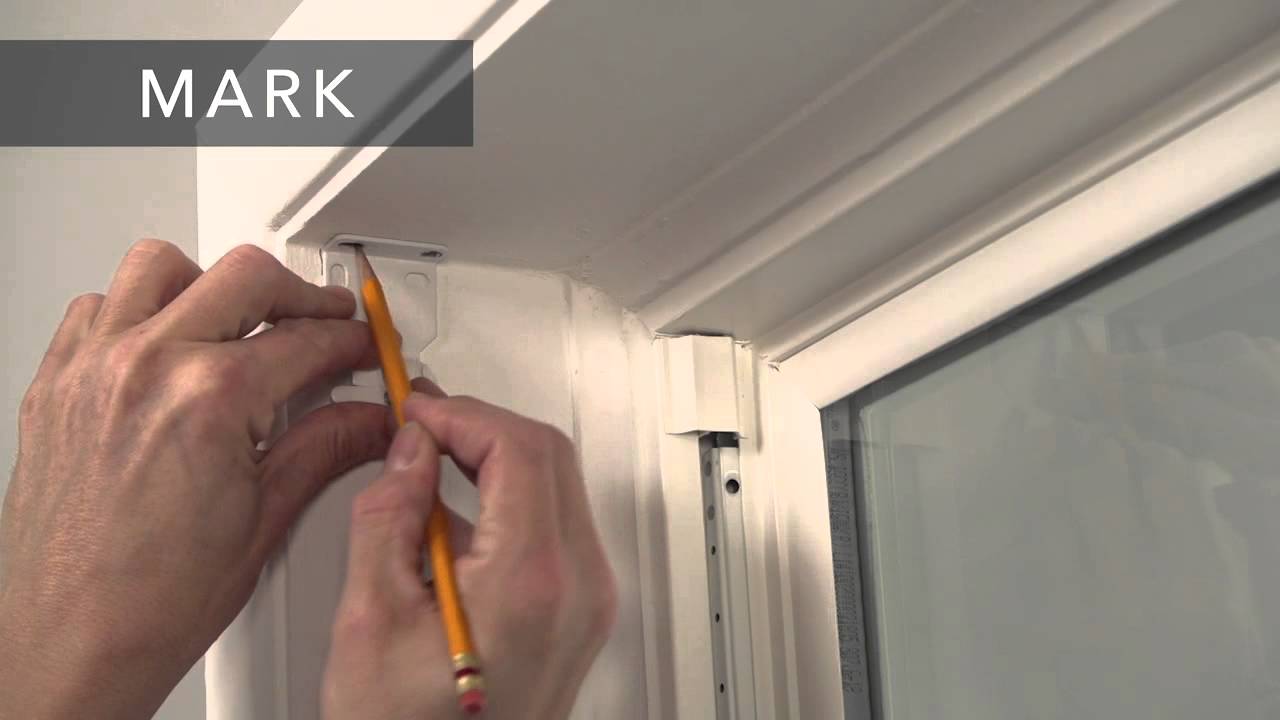
- Line up the front of each bracket so theyre even. Mark where your screws will go.
- Drill the screws into place and secure the brackets.
- Install the headrail by sliding it onto the brackets and pushing toward the back of the window until it snaps into place.
- Install the safety bracket or tension pulley along the bottom of the frame where it will not interfere with the operation of your shade.
- Finish by lowering and testing your new shade.
Inside Mount Installation:
How To Measure For Each Mounting Option:
Inside Mount:
Please note the fabric for the roller sun solar shades will be 1¼ narrower than your ordering width. This is to allow for the brackets. If the light gap is a concern, we recommend going with an outside mount.
Outside Mount:
Please note the fabric will be 1 1/4 narrower than the measurement you provide to allow for the brackets. If you need the fabric to cover a specific width, please add at least 1 1/4 to your measurements. If you would like to receive a free quote, please fill out our form on the right.
Common Tags: window shades
We serve the Denver Metro area.
303-278-3456
Don’t Miss: How To Become A Solo Traveller
Adjusting For Roller Tension
To tighten, lower the shade about 18 inches from the top, remove from window brackets. Roll up shade all the way to the top by hand, then replace in brackets.
To loosen, raise the shade to the top and remove from brackets. Unroll about 18 inches and replace in brackets. Repeat until there is a proper tension. Roller should not be too tight. Remember, when a window shade refuses to roll up, the spring is too loose. When it won’t stay down, the roller spring is too tight.
Caution: Over winding may result in permanent damage.
Benefits Of Outside Mount Blinds

Inside mount blinds look aesthetically and visually more pleasing as they neatly cover the windows only. Outside mount blinds are great as they make even smaller windows appear larger and wider. If your windows have any blemishes or uneven, outside mount blinds help to conceal these brilliantly and gives a uniform appearance to all the windows. As they are mounted outside, they help to close any light gaps that appear between windows and the blinds for inside mounts by offering wider and better coverage. They do a better job in blocking out light completely vis-a-vis inside mount blinds.
Also Check: How Much Is Solar Panel Cleaning
Bracket Location & Installation
Your window shade can be installed either inside the window frame or outside the window frame or on the ceiling. When measuring and installing shades, make sure there is a “play” between the roller and the brackets. Shades mounted too tight in the brackets will not function properly. Attach brackets to inside or outside of casing or to the ceiling.
Installation Choice: Inside Your Window Frame Or Outside Your Window Frame
There are two primary ways to install window treatmentsinside the window frame or outside the window frame. Because both of these methods require different measurements, its important that you decide beforehand which installation you will use for your new shades.
To learn the major differences between the two types of installations, check out the table below:
Don’t Miss: Do You Need Sun For Solar Panels
Depth Requirement For Inside Mount Blinds
So what is the ideal depth requirement for inside mount blinds to make a good fit and also look neat and tidy?
While the ideal depth is between 1 and 5 inches, the depth needed depends a lot on the style of window treatment that you have chosen for the windows. If you have opted for smaller window blinds like aluminum mini blinds or cellular shades, they will need as less as 7/8 of an inch for a perfect snug fit and will not protrude out either. However, the story will be different for large window treatments like wood blinds or vertical blinds that need more space to make a good fit that will also be aesthetically pleasing. Some of these blinds may need up to 6 inches for a flush mount.
Before purchasing a window blind, while browsing, visit the Product detail page which specifies the amount of depth required for each window blind and shade. Measure the depth of your windows, make a note of the depth specified for the shortlisted blinds, tally them and then go ahead and then place the order. Let it not be the other way round as your money could easily go waste.
Required Depth For Inside Mount Blinds
For blinds to be inside mount windows must have sufficient depth. Windows without much depth will have to settle for outside mounts.What is Flush MountIf you want to mount your blinds on the inside then space is needed and the question that floats around is how much space or depth is needed. Your windows must meet the depth requirements to help accommodate the brackets and headrail of your blinds. By depth, we imply the space between the edge of the window frame and the window pane. Right depth will provide a snug fit inside of the window opening and meet the flush mount requirements.If your windows have the minimum requirements you can still install an inside mount blind though some part of the blind may protrude out and might require a valance to cover the headrail.
Recommended Reading: Can I Have Solar Panels On My House
How To Hang Roller Shades
While different types of roller shades may have varied instructions, the information included below will provide general installation instructions for most roller window shades. Make sure to always check the installation guide that accompanies the window shades to determine if there are any additional steps or considerations.
Heres a general guide for how to install roller shades.
Test Your Roller Shades
Now that your roller shades are installed, the last step is to test them out. You can test your roller shades by gently pulling them down and rolling them up to make sure they are even and operate correctly. If there are no operational issues, then you have successfully installed your roller shades!
Recommended Reading: Is Leasing Solar Panels A Good Idea
Measuring Your Window Or Door For Inside Mount Window Treatments
To get precise measurements that will provide a clean and flush look with your window frame, follow the steps below:
Step 1: Measure the inside width of the top of the window opening in the same spot where you will mount the shade. Note that the factory will make deductions of around 1/8 after you place your order.
Step 2: Measure the inside height of the window in three separate placesthe far left side, the middle, and the far right side. Note the largest measurement of those three, as thats the measurement youll use when you place your order.
- Note that solar shade fabrics differ from other types of shades, as your order will be 7/8 to 1 3/8 narrower than the width you provide when placing your order. This deduction is to allow room for the mounting brackets.
How To Measure For Solar Shades

Solar shades are perfect for rooms where you want to preserve the view of the outdoors and natural light from your windows while also maintaining your privacy and reducing the effect of the suns rays.
If youre considering purchasing solar shades from Blindster, its important that you first know the exact measurements of the window or door where they will be installed. Without precise measurements, you may find that your shades are too long or too short or simply dont fit.
Don’t Miss: What Are The Tax Credits For Solar Panels
Installing Faux Wood Or Solid Wood Blinds
Faux wood blinds are great for rooms with high humidity such as kitchens and bathrooms. Always measure carefully when learning how to hang blinds. This will make sure you have the correct fit. Wood blinds are popular for their eco-friendliness and ability to regulate temperatures. Installation of wood blinds is similar to that of faux wood blinds, but extra care should be taken not to scratch or damage the wood surfaces.
Inside Mount Installation:
- Position the first bracket in the upper corner of the window frame. It should be flush with the walls surface. Mark the screw locations and repeat on the other side with the other bracket. Check and make sure the two bracket locations are even.
- Drill pilot holes where the screws should go, then drill the screws into place to secure the brackets.
- Install the blinds by sliding the headrail into the brackets.
- Close the brackets to secure the headrail into place.
- Attach the wand that rotates the blinds by hooking it to the metal clip at the top.
- If your blinds come with a valance, attach the supplied tips and position it on the headrail.
- Finish by lowering and testing your new blinds.
Outside Mount Installation:
Tip: Follow these same instructions when installing aluminum blinds.
